You probably thinking, How to incubate chicken eggs? or have you ever dreamed of hatching your own fluffy chicks but felt overwhelmed by the process? You’re not alone! Incubating chicken eggs is equal parts science and art—and with the right guidance, even first-timers can achieve a successful hatch. Whether you’re a homesteader, a teacher with a classroom project, or a curious hobbyist, this guide will walk you through every step, from setting up your incubator to cheering on your newly hatched chicks. Let’s crack into it!

Preparation Before Incubation
Choosing the Right Incubator
Your incubator is your eggs’ temporary home, so choose wisely! There are two main types:
- Still-air incubators: Affordable and simple, but require manual temperature adjustments (aim for 101–102°F at the egg’s top).
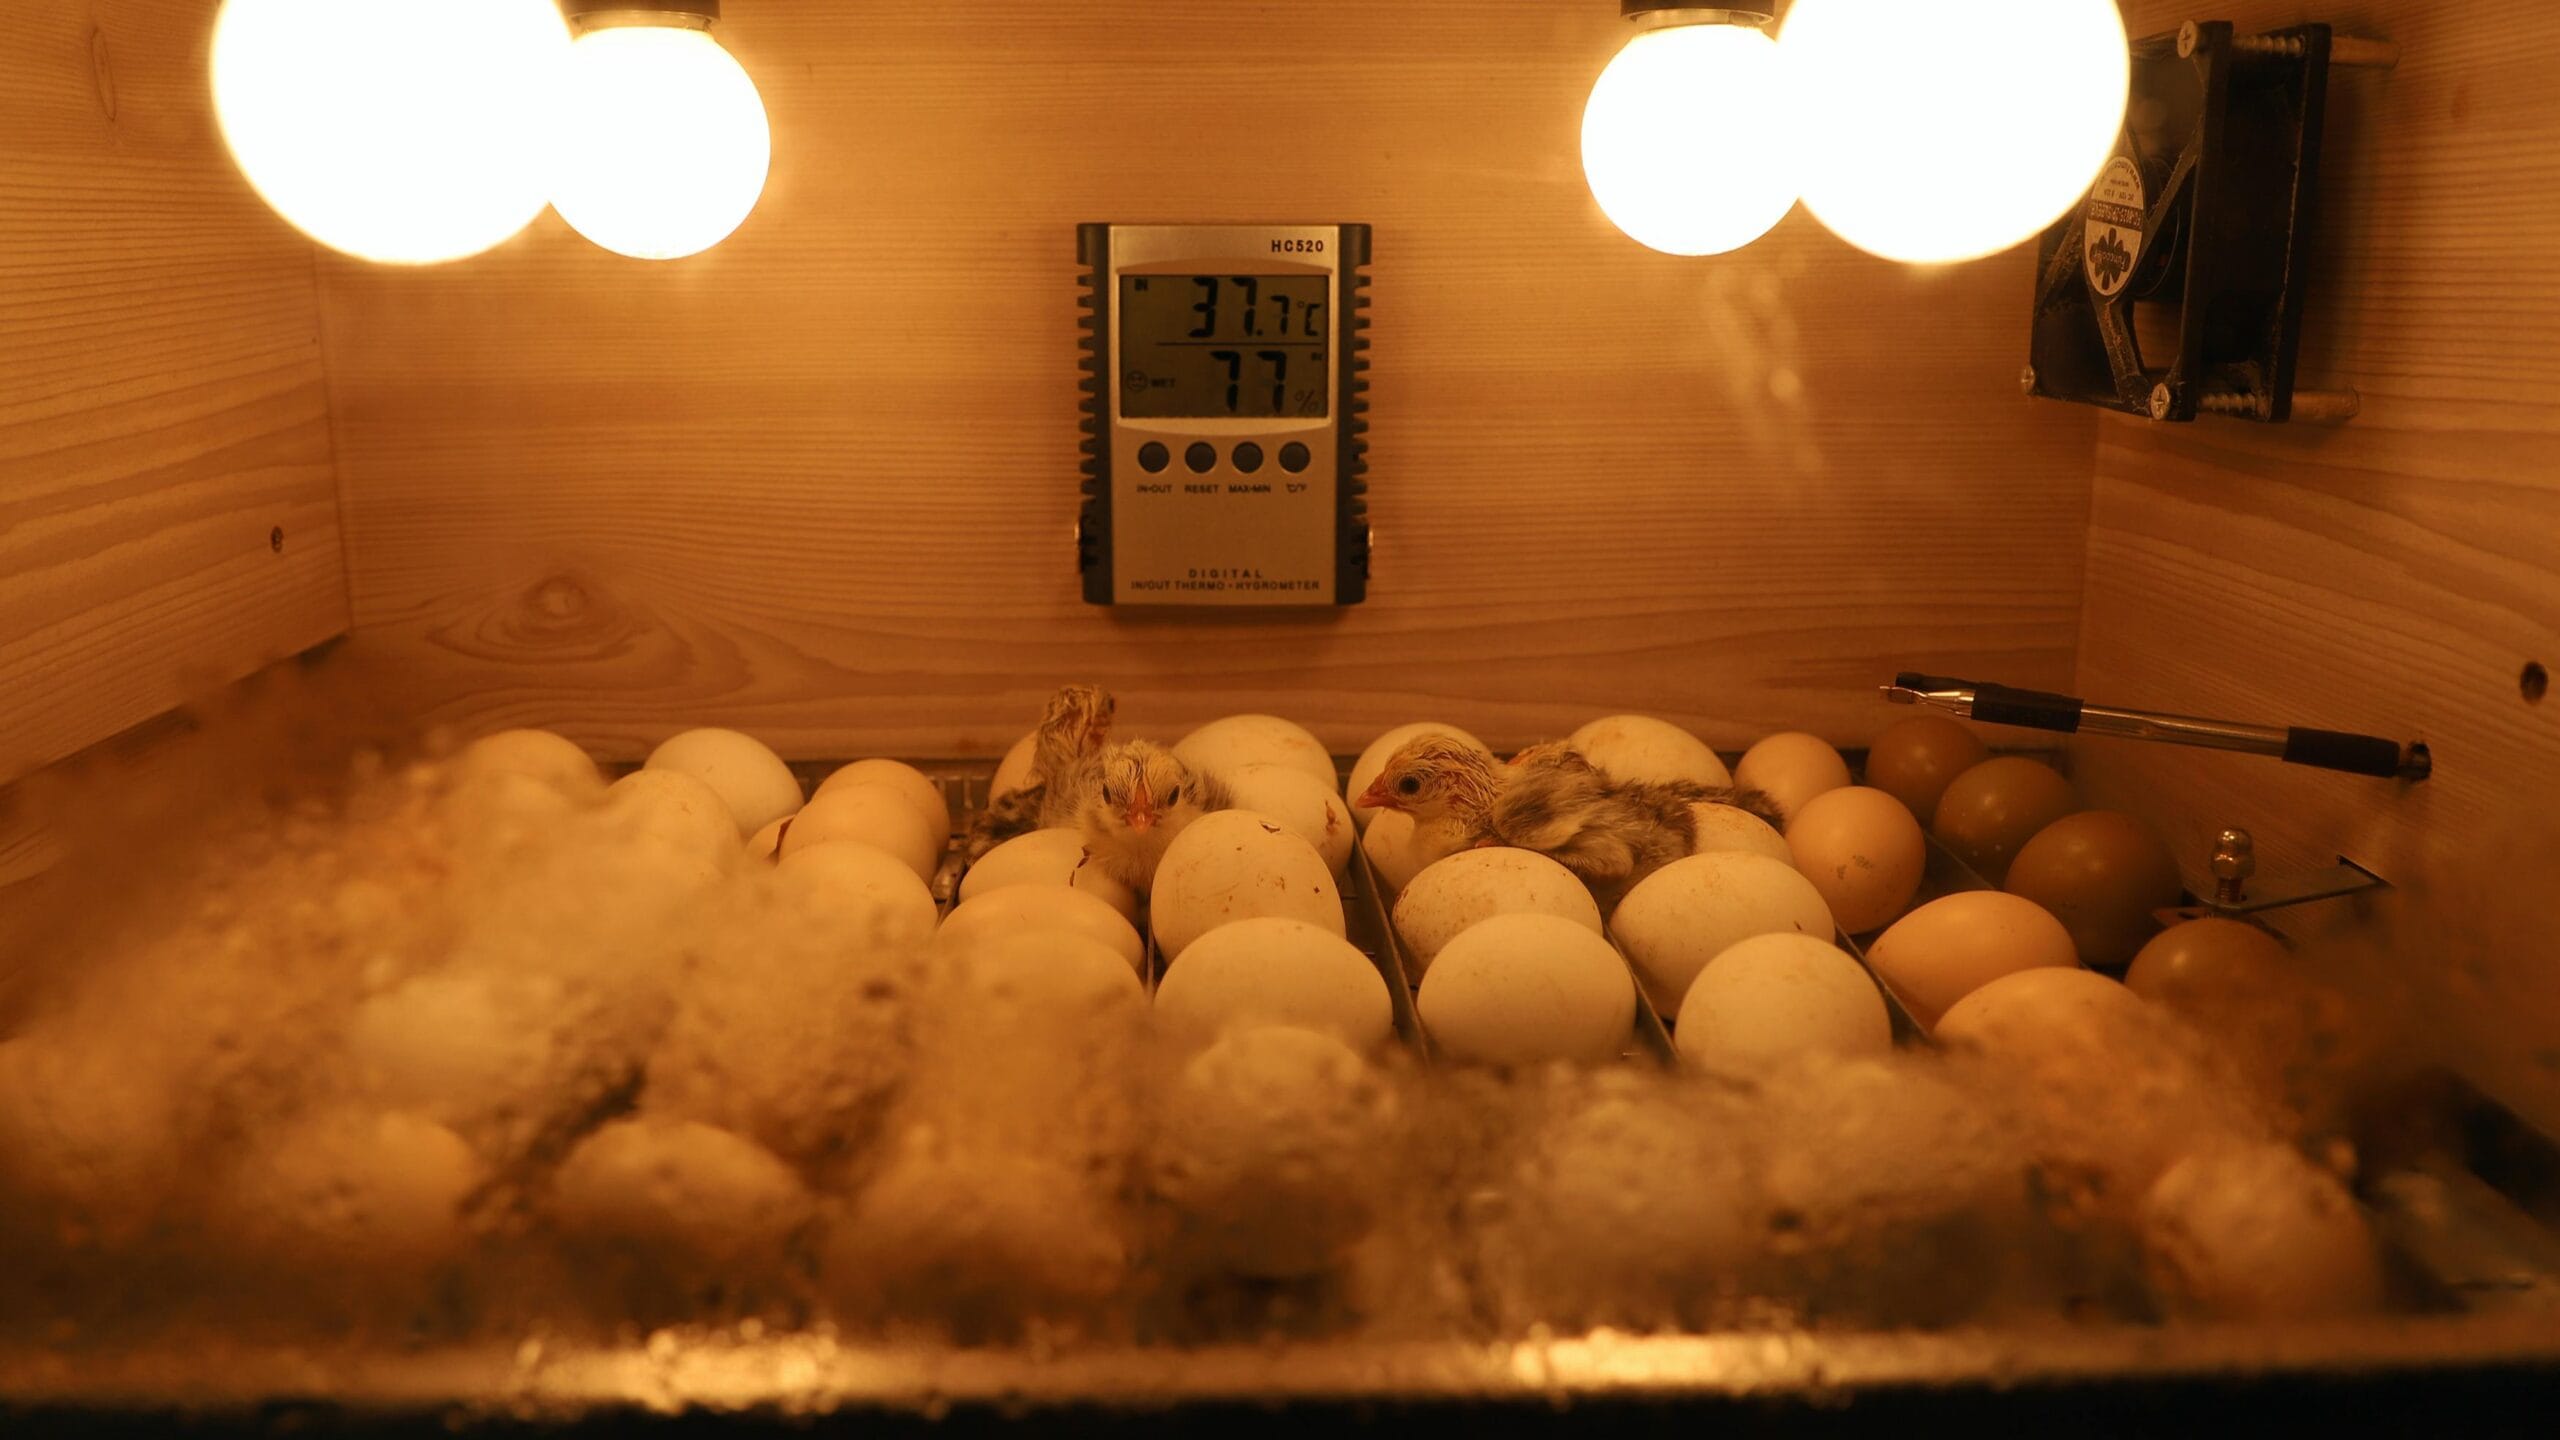
- Forced-air incubators: Use fans for even heat distribution (set to 99.5°F) and often include auto-turning features.
Pro Tip: Look for models with digital hygrometers and humidity controls—these reduce guesswork and boost hatch rates!
Incubate Chicken Eggs Set Up
- Sanitize: Wipe down with a 10% bleach solution to kill bacteria.
- Test Run: Let it run for 24 hours to stabilize temperature/humidity.
- Location Matters: Keep it in a draft-free room with steady temps (70–75°F). Avoid sunny windowsills—heat spikes can be deadly!
Selecting Fertile Eggs
Not all eggs are created equal. Source fertilized eggs from local farms (ask for proof of rooster access!) or reputable online sellers. Avoid grocery store eggs—they’re unfertilized. Check for:
- Smooth, uncracked shells.
- Normal shape (no extremes—too round or pointy eggs often fail).
- Clean surfaces (dirt blocks pores; don’t wash eggs—it removes protective bloom!).
The Incubation Process
Optimal Incubation Conditions
- Temperature:
- Forced-air: 99.5°F.
- Still-air: 101°F (measured at egg level). Even a 1°F deviation can harm embryos!
- Humidity:
- Days 1–17: 40–50% (prevents eggs from drying out).
- Days 18–21 (“Lockdown”): 65–70% (softens shells for hatching).
Fun Fact: Use a wet sponge or humidity pump to adjust levels. Distilled water prevents mineral buildup!
Daily Incubation Routine
- Turning Eggs: Turn eggs 3–5x daily (prevents embryos from sticking). Mark eggs with an “X” and “O” to track turns. Auto-turners save time!
- Monitor Conditions: Check temp/humidity twice daily. Keep a log!
- Ventilation: Gradually open vents as embryos grow (they need more oxygen by Day 14).
Candling Eggs
Grab a flashlight and candle eggs on Days 7, 14, and 18:
- Day 7: Look for spider-like veins and a dark spot (the embryo). Discard clear eggs (infertile).
- Day 14: The air sac should occupy ⅓ of the egg. Dark, moving shadows mean healthy chicks!
- Day 18: Stop turning and watch for “pipping” (first cracks).
The Lockdown Period (Final Days)
Preparing for Hatching
On Day 18:
- Stop turning eggs (chicks position themselves to hatch).
- Boost humidity to 65–70% (add water channels or sponges).
- Resist peeking! Opening the incubator drops humidity and risks shrink-wrapping chicks.
Signs of Imminent Hatching
- Pipping: Tiny holes where chicks break through internally (Day 19–20).
- Zipping: Circular cracks as chicks rotate to escape (takes 12–24 hours).
Patience is key—don’t assist unless a chick is stuck for >24 hours (more on that later!).
Hatching and Post-Hatch Care

Assisting Chicks (When Necessary)
If a chick hasn’t progressed after 24 hours:
- Mist the shell with warm water to soften it.
- Gently peel a small section to expose the membrane.
- Stop if bleeding occurs—let nature take over.
Warning: Over-helping can harm underdeveloped chicks. When in doubt, wait!
Brooder Setup
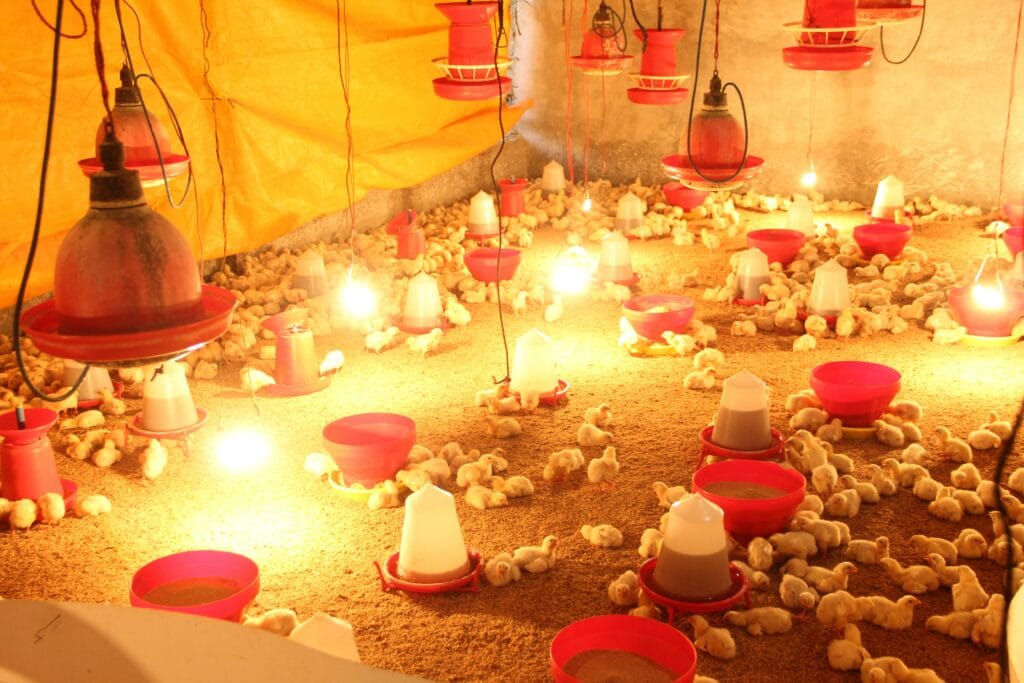
Move dry chicks to a preheated brooder:
- Temperature: 95°F for Week 1, decreasing by 5°F weekly.
- Bedding: Pine shavings (avoid slippery newspaper).
- Food/Water: Use chick starter crumbles and a shallow waterer (add marbles to prevent drowning).
Troubleshooting Common Issues
Temperature/Humidity Fluctuations
- Too hot? Lower temp gradually—sudden changes shock embryos.
- Too dry? Add water and cover vents slightly to trap moisture.
Egg Development Problems
- Early Hatching (Day 19): Usually due to high temps.
- Late Hatching (Day 22+): Low temps or weak chicks.
- Rotten Eggs: Remove immediately (they can explode!).
FAQs
Q: Can I incubate store-bought eggs?
A: Nope—they’re unfertilized. Source farm-fresh eggs instead!
Q: What if the power goes out?
A: Keep the incubator closed! Eggs can survive 6–8 hours if temps stay above 85°F.
Q: How long until chicks eat after hatching?
A: They live off yolk reserves for 48 hours. Offer food/water once all hatch.
Congrats—you’re now equipped to hatch your own chicks like a pro! Remember, every hatch teaches something new. Keep notes, stay patient, and soon you’ll have a coop full of clucking success stories. Ready to start? Share your first hatch with us in the comments—we’d love to cheer you on!
